How to login to a FTP Server using Windows Command-line FTP Client
Windows Command-line FTP Client is another option to login to an FTP Server to transfer files. It has many useful commands to manage file transfer related tasks.
Following steps explain how to login to an FTP Server using Windows Command-line FTP Client.
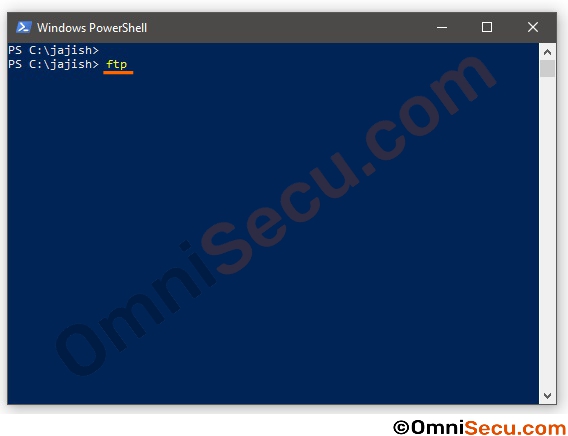
Step 1 - Open PowerShell by searching for PowerShell at Windows search box and then clicking on the PowerShell App from the search results. Type "ftp" in PowerShell console and press "Enter" key as shown below.
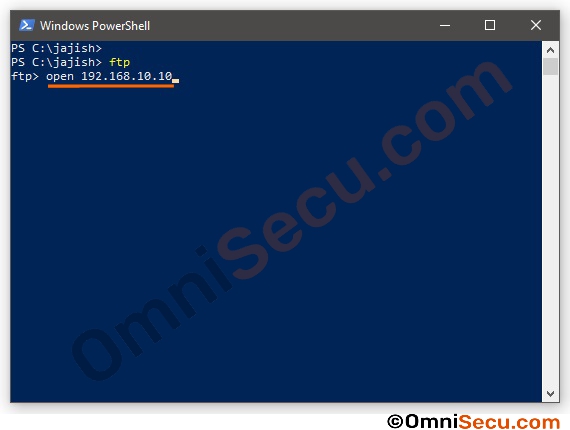
Step 2 - Type "open" and then the IP address of the FTP Server as shown below. Press "Enter" key to continue.
Step 3 - Login banner will be displayed as shown below.
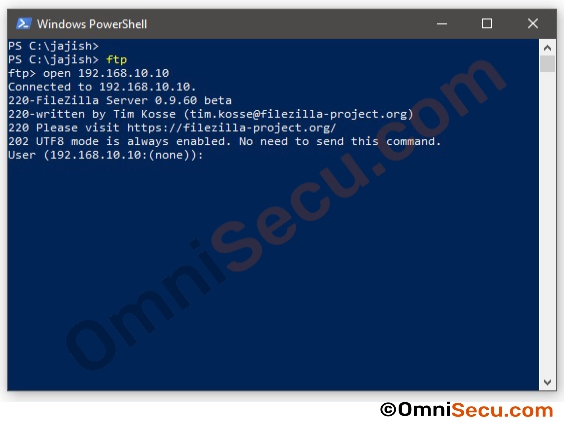
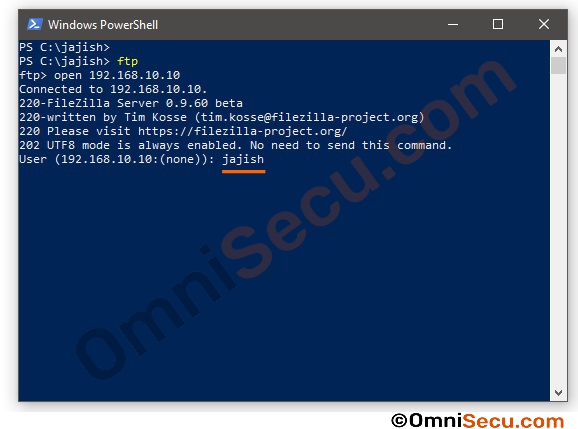
Step 4 - Type the username which is already created at the FTP Server, as shown below. Press "Enter" key to continue.
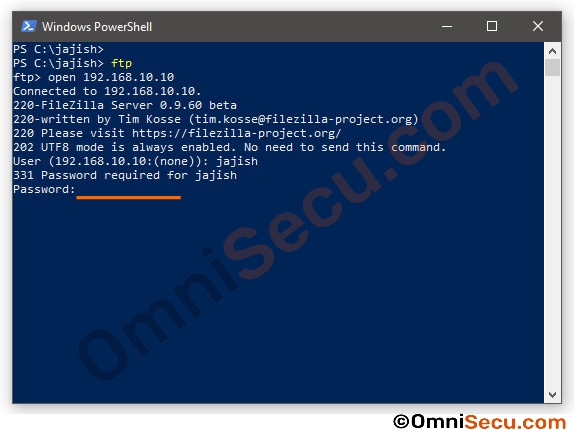
Step 5 - Type the password of the user at FTP Server. Password will not be displayed at the PowerShell console. Press "Enter" key to continue.
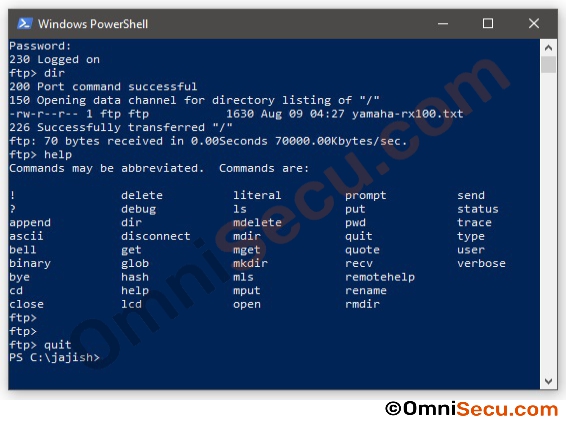
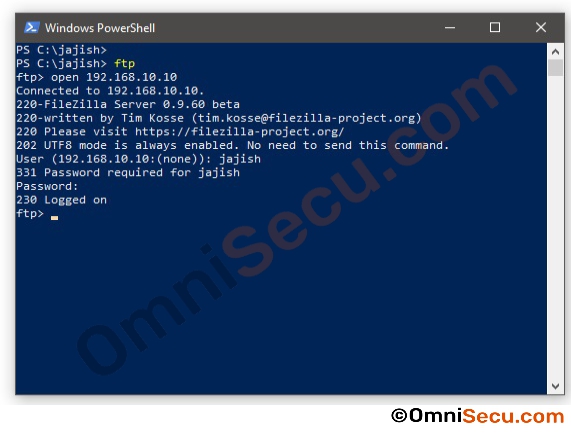
Step 6 - If the username and password are correct and the user has permission to login at the FTP Server, user will be logged in to the FTP Server, as shown below.
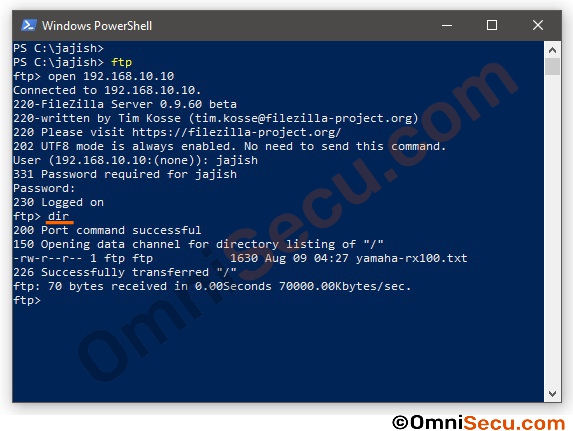
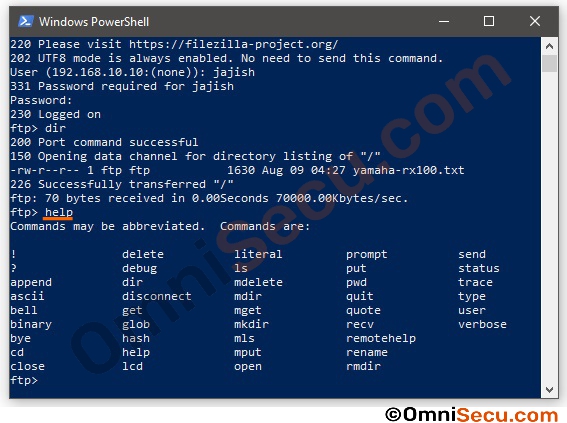
Step 7 - To run a FTP command, type the command and press "Enter" key. For example, "dir" command to list the contents of the folder, type "dir", and press "Enter" key. The contents of the folder will be displayed as shown below.
Step 8 - Now, if you are not sure about different FTP commands, type "help" and press enter to display different FTP commands, as shown below.
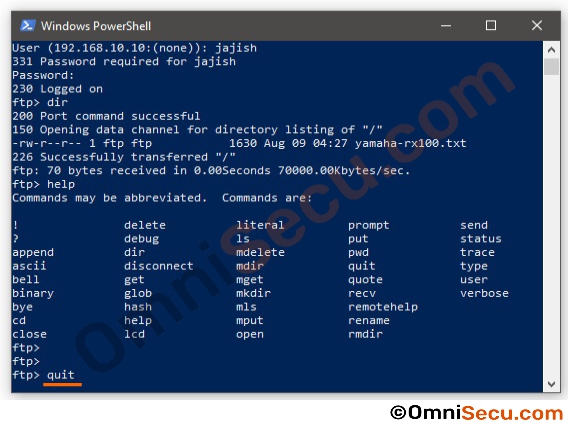
Step 9 - When your file operations are completed and if you want to get out of Windows FTP Client command-line console, type "quit" and press "Enter" key to quit Windows FTP Client command-line console, as shown below.
Step 10 - Now you are back to Windows PowerShell console.
