How to install FileZilla FTP Client
FileZilla is one of the most widely used FTP Client and Server solution. The FileZilla FTP Client supports FTP, FTP over TLS (FTPS) and SFTP. FileZilla is open source software distributed free of charge under the terms of the GNU General Public License.
FileZilla Pro is a commercial version, which supports additional features like WebDAV, Amazon S3, Backblaze B2, Dropbox, Microsoft OneDrive, Google Drive, Microsoft Azure Blob and File Storage, and Google Cloud Storage.
Click the next link to visit FileZilla home page and to download FileZilla FTP Client and Server installation files.
Follow below steps to install FileZilla FTP Client.
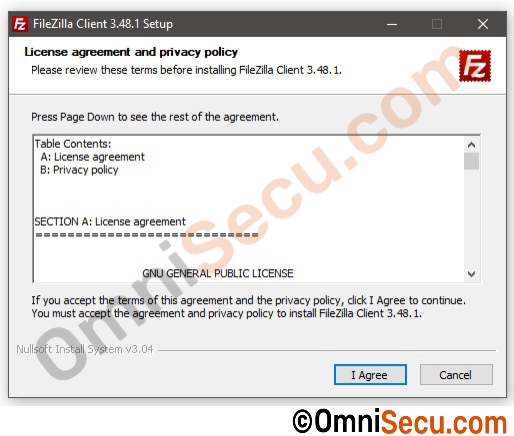
Step 1 - Double-click the FileZilla FTP Client installation file to start the installation. Click "I Agree" button if you are happy with the license terms.
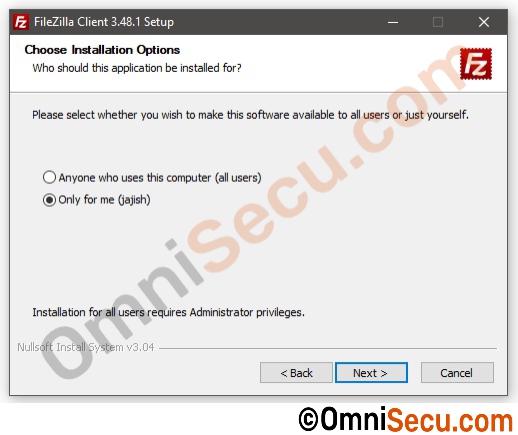
Step 2 - Select whether the FileZilla FTP Client program is available to all users or just one user. Click "Next" button.
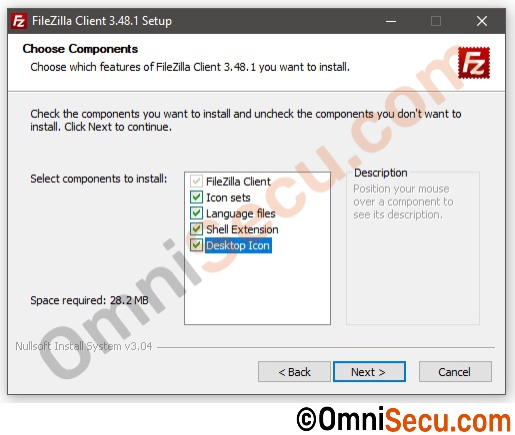
Step 3 - Select the components you need to install. Click "Next" button.
Step 4 - Select FileZilla FTP Client installation folder or accept the default location. Click "Next" button.
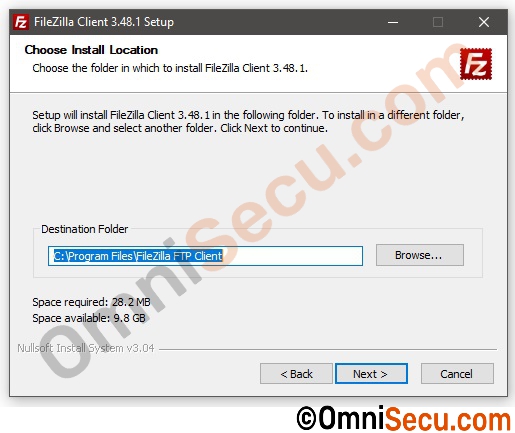
Step 5 - Select the location is Startup Menu you want the shortcut for FileZilla FTP Client to appear. Click "Next" button.
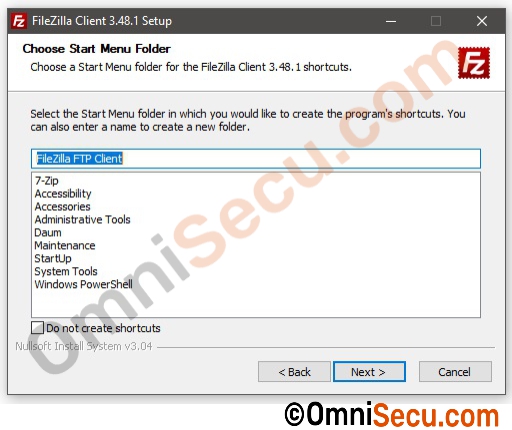
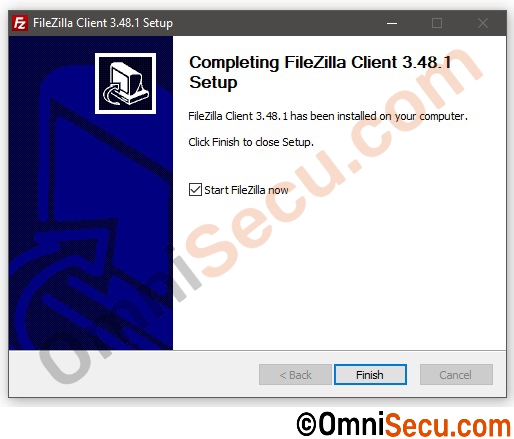
Step 6 - FileZilla FTP Client installation is completed. Click "Finish" button to exit installation wizard.
